Create, export & import components
Angular create, export & import components - free examples & tutorial
Learn how to create, export & import components.
Among other advantages, Angular gained incredible momentum within the last year thanks to its reactive and composable components. Components are reusable Angular instances with a name. We can use these components as custom elements inside a root component.
In this lesson, we will learn how to create, use and organize components.
Create and export component
1. Create a new folder and call it components inside the src folder:
2. Create a new folder and call it hello-world inside the components folder:
3. Create a new file called hello-world.component.html inside the hello-world/ folder:
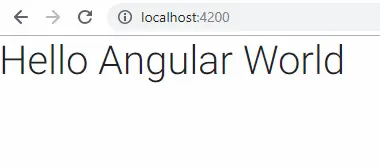
4. Open hello-world.component.html file and add the following code:
<h1>Hello Angular World</h1>
5. Create a new file called hello-world.component.ts inside the hello-world/ folder.
6. Add the following code to the hello-world.component.ts file:
      import {Component} from '@angular/core';

      @Component({
        selector: 'hello-world',
        templateUrl: './hello-world.component.html',
      })
      export class HelloWorld {
      }
As you already know from a previous lesson, within metadata
(@Component{...} we have defined a component selector and below,
we have exported a HelloWorld component.
Important:
Instead of providing the path to the external file with HTML template like we just did:
templateUrl: './hello-world.component.html'
we could use template: atribute (instead of a templateUrl:) and write
HTML code directly inside the .component.ts file like below:
template: '<h1> Hello World </h1>'
It is important for you to remember that the component.ts file is the
only file required to create a component. However, when you create more complex components it's
highly recommended to use separate files for template, styles and tests.
Now when our component is already exported we are ready to import it within the App component.
Import a component into a module
In order to import a component within our App component we have to:
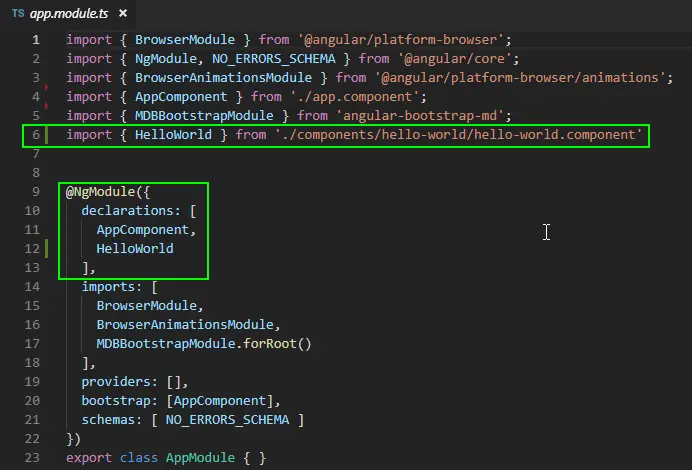
1. Import a new component within the app.module.ts file:
1.1 Add the following import line:
import { HelloWorld } from './components/hello-world/hello-world.component'
1.2 Add HelloWorld into the declarations[] array.
Use a component
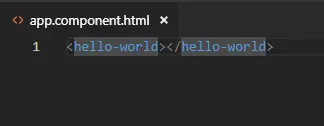
Now we are ready to use our component. Open app.component.html
and paste into it <hello-world></hello-world>.
Save the file and run the project.
Now you know how to create, export and import components. Before we start building a real application I want to show you the one more important thing.
Import a component into another component
In our previous example our HelloWorld component contained only an HTML markup, without any logic.
Let's add some logic to our HelloWorld component.
1. Update hello-world.component.ts and hello-world.component.html with following code:
Note:
The code markup below contains two tabs (component.html and component.ts).
You can switch between them. In some components, you may find different tabs e.g. including styles
for a given component.
      <h1>Hello World Component</h1>
      <p>Hello World counter = {{counter}}</p>
      <p><button (click)="increaseCounter()" >Increase Hello World counter</button></p>
      import {Component} from '@angular/core';

      @Component({
        selector: 'hello-world',
        templateUrl: './hello-world.component.html',
      })
      export class HelloWorld {
        counter = 0;

        private increaseCounter(this) {
          this.counter++;
        }

        public getCounter(){
          return this.counter;
        }
      }
2. Update app.component.ts and app.component.html with the following code:
      <hello-world></hello-world>

      <hr>
      <h1>This is AppComponent</h1>
      <p>App component counter = {{counter}}</p>
      <p><button (click)="increaseCounter()" >Increase App Component counter</button></p>
      <button (click)="getHelloWorldCounterValue()">Get Hello World Counter </button>
      import { Component, OnInit, ViewChild } from '@angular/core';
      import { HelloWorld } from './components/hello-world/hello-world.component'

      @Component({
        selector: 'app-root',
        templateUrl: './app.component.html',
        styleUrls: ['./app.component.scss']
      })

      export class AppComponent implements OnInit {
        @ViewChild(HelloWorld ) child: HelloWorld ;

        ngOnInit() {
        }
        counter = 0;

        private increaseCounter(this) {
          this.counter++;
        }
        private getHelloWorldCounterValue(){
          this.counter = this.child.getCounter();
        }
      }
We have created two counters, one within each component. Each component has also a button which increase the counter by one. Each counter works independently - each doesn't affect the other counter. Let's check it now:
3. Run the app.
What is important, is that our HelloWorld component now has some logic.
Except for the increaseCounter() function that allows us to increase the counter,
it has also another function called getCounter(). This function returns the
current value of the HelloWorld counter.
Now when our HelloWorld component has not only a template but also logic,
it's not sufficient to import it only in the app.module.ts file. In order
to use its function within App we have to import it into the
app.component.ts file as shown below:
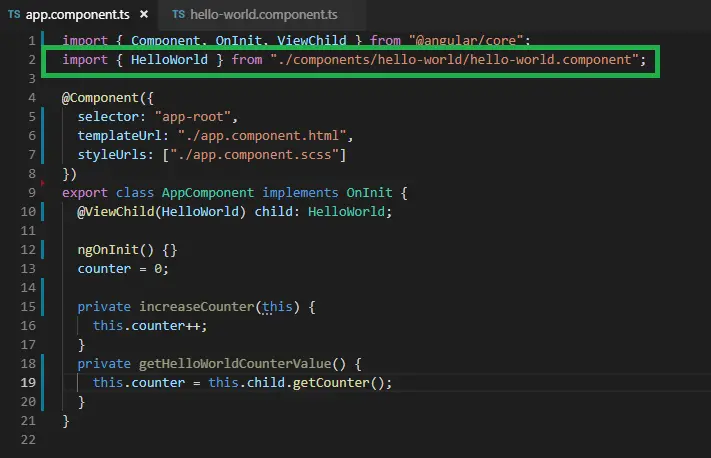
We used some new functions here such as @ViewChild, ngOnInit() and others.
We will learn about them in later lessons. For now I want you to remember one thing.
Remember:
Whenever you want to use a component without logic it's sufficient to import
it into your module file (step 2).
If you want to use functions exposed in other components you have to also
import them within the component.ts file (step 4).
Beacuse of that, when we press the second button (Get Hello World Counter) we can call getCounter
from the App component, and align the App counter with the HelloWorld
counter value.
Now when we know how to create, export and import components it's high time to build some real application!