Free UI/UX design course
Learn how to create exceptional designs by reading my new tutorial.
Start learningDeployment and repository
Hooray, we've finished our portfolio!
Have a look - whether you're viewing it on desktop or mobile, it looks perfect and is 100% responsive. Well done you 👏
Final Demo Source codeNow it's time to use MDB GO (MDB deployment tool & free hosting) and share your project with the world 🚀
We've already done this in previous tutorials, so I won't dwell on it here, just get straight to the point.
Prerequisites
To use MDB GO and publish and host your projects for free you need:
- Node.js
- MDB account
- MDB CLI
All of these things we discussed and worked through in an earlier lesson. So if something doesn't work for you or you don't understand something, go back to the Basics / Deploy your project lesson.
In this lesson, I'll assume you already have everything mentioned above and I'll just show you how to publish the project we just finished.
Step 1 - launch the terminal
Launch the terminal (if you are using Windows, type "cmd" in the system search and run Command Line app / on MacOS, search for the "terminal" application).
Step 2 - log in to the MDB account in the terminal
To log in to MDB GO, in the terminal type the mdb login command and press enter.
Then enter your username and password that you set when registering your MDB account.
Step 3 - in the terminal navigate to your project directory
I moved this folder to my desktop and finally my project path looks like this ( by the way - I'm working on Windows):
C:\Users\MDB\Desktop\mdb-uikit-tutorial
Now open your terminal and type the command cd (it means going to the specified path) and paste the path to the folder where you have your project.
If you entered the correct path, you should see in the terminal that you have been moved to the selected location.

Step 4 - publish your project!
Alright, we're ready to go!
1. In the terminal, type mdb publish command and press enter. You will see the message:
Required .mdb file not found. Create? (Y/n)
Type the letter "Y" and click enter.
2. Then you will be asked for a name for your project. You can stick to mdb-tutorial if you like.
3. After that, you will be asked for the type of project. By default, the frontend option is selected and we will stay with it. So just click enter.
4. Next, you will be asked for the default package manager. Stay with the npm option and just hit enter again.
5. Then, you will be asked for a few things, such as a description of your project or its version. Ignore these questions and just hit enter on all of them until you see the final question Is this OK? (Yes). Click enter here as well. Then your project will start uploading.
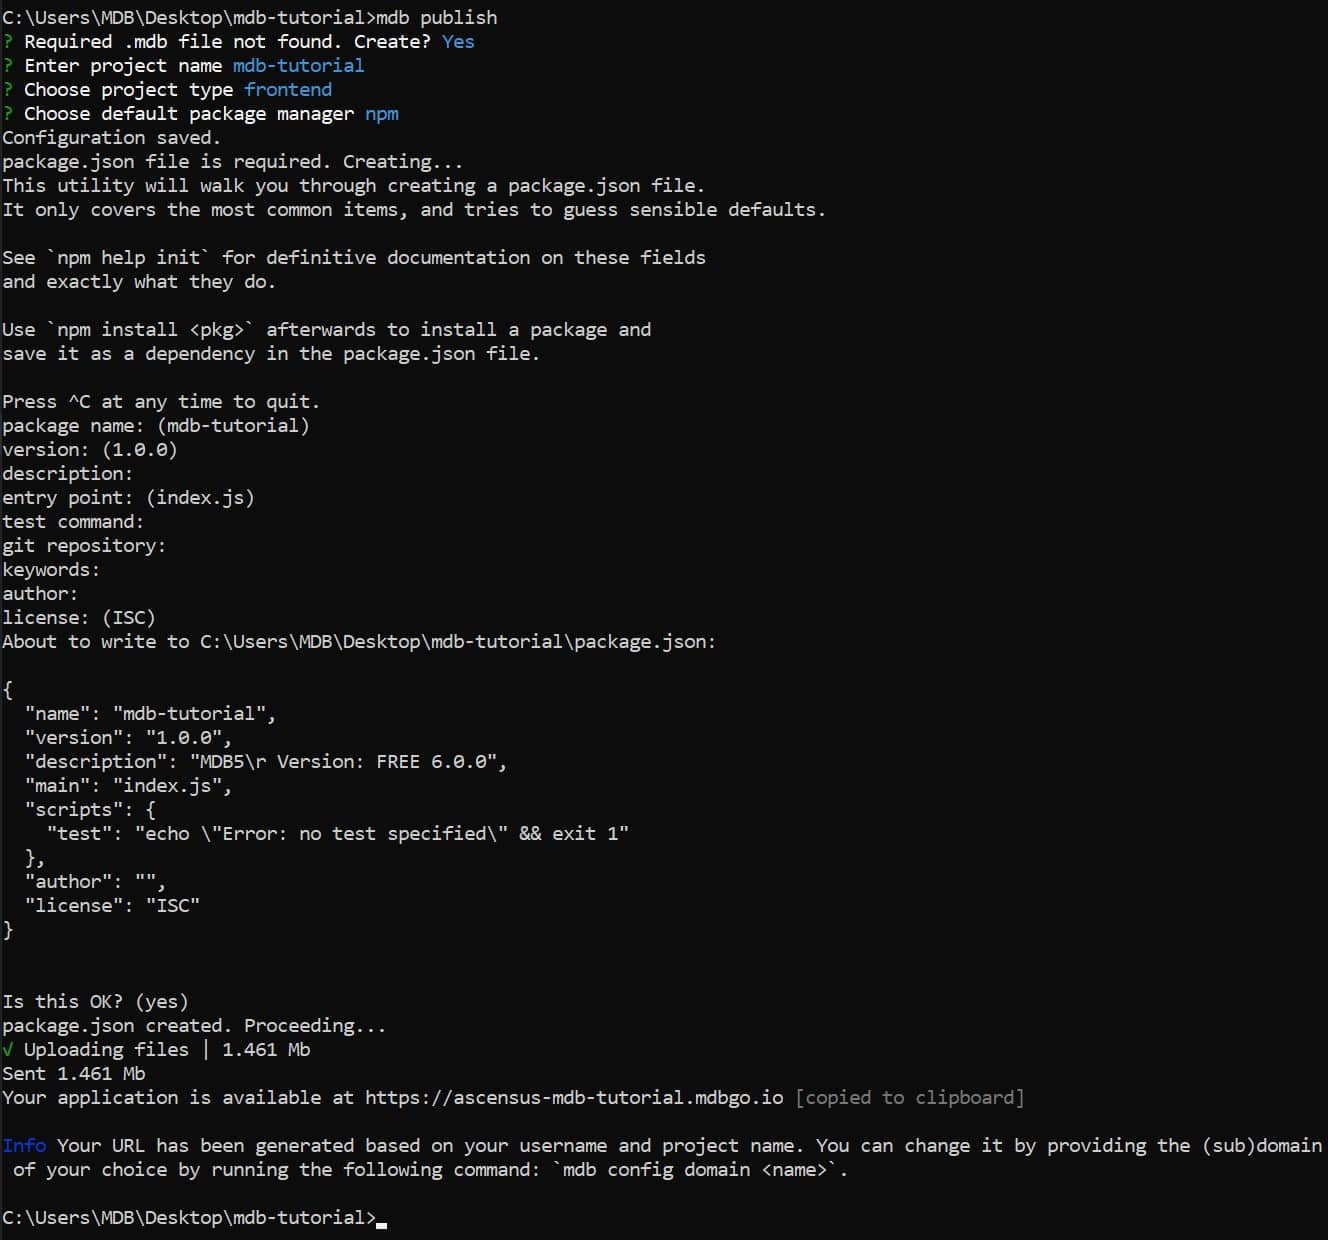
And it's ready! Your project is available at the link provided in the terminal.
This link is automatically copied to your clipboard, so you can immediately press ctrl + v and paste it into the search box in the browser.
Follow this link and admire your stunning portfolio available online worldwide!
For example, my project is available at:
https://ascensus-mdb-uikit-tutorial.mdbgo.io/
Repository
You have completed your project and published it on the web. Good job!
However, there is one more important task ahead of us - creating a repository.
Thanks to the repository, you will be able to control changes in your project and version them accordingly. Additionally, thanks to the repository, you can work on your project with other people in an organized way.
No technological project can do without a repository. Fortunately, creating and managing a repository is super easy with MDB GO.
Note: You can publish and host your project on the Internet for free, but creating and managing a repository is part of the paid version of MDB GO.
The paid version of MDB GO offers a wide range of additional options and costs $19 / month. You can find out more at this link.
If you don't want to use the paid version of MDB GO, you can:
- try it for free as a trial (click the "try for free" button in the middle card)
- skip this tutorial and go to the next lesson
Prerequisites
To be able to manage the repository you need to have GIT installed.
So before you start the tutorial below, make sure you have it installed (it is often installed by default or installed with other programs).
To check if GIT is installed on your machine, launch a terminal and then type the command below:
git --version
If the terminal shows you the version number, then GIT is installed.

If you don't see the version number, you need to install GIT. Go to the official GIT website, download the installer (Windows, Linux and macOS versions available) and install it.
Once git is installed, you can proceed to the steps below.
Step 1 - launch terminal and navigate to your project
If you closed the terminal after deploying your project, you need to restart it and go to the location of your project.
Type the command cd (it means going to the specified path) and paste the path to the folder where you have your project.
Step 2 - initialize a repository
To initialize the repository, just enter the following command in the terminal and confirm it by pressing enter.
mdb repo init
You can see quite a lot of logs in the terminal, including some warnings or errors. Do not worry about it. If at the end you see a success message, as in the screenshot below, then everything is ok.

In the terminal you will see a link to your repository. You can immediately copy and paste it into your browser.
For example, mine is like this:
https://git.mdbgo.com/ascensus/mdb-uikit-tutorial.git
When you go to this link, you will be asked to log in. The login and password are the same as in your MDB account (the ones you used to log in to the terminal).
Step 3 - manage your project and repository
Go to https://mdbgo.com/ and click the SIGN UP / SIGN IN button in the upper right corner.

Then log in using your MDB account credentials again (the ones you used to log in to the terminal).
The MDB GO DASHBOARD button will then appear in the navbar in the upper right corner. Click on it to go to the MDB GO administration panel.

You will be transferred to the administration panel. Depending on the number of projects and your package, you may see different data there.
In the "Latest projects" section you will see your recently published project. If you click on its name, you will be taken to the control panel for that particular project.
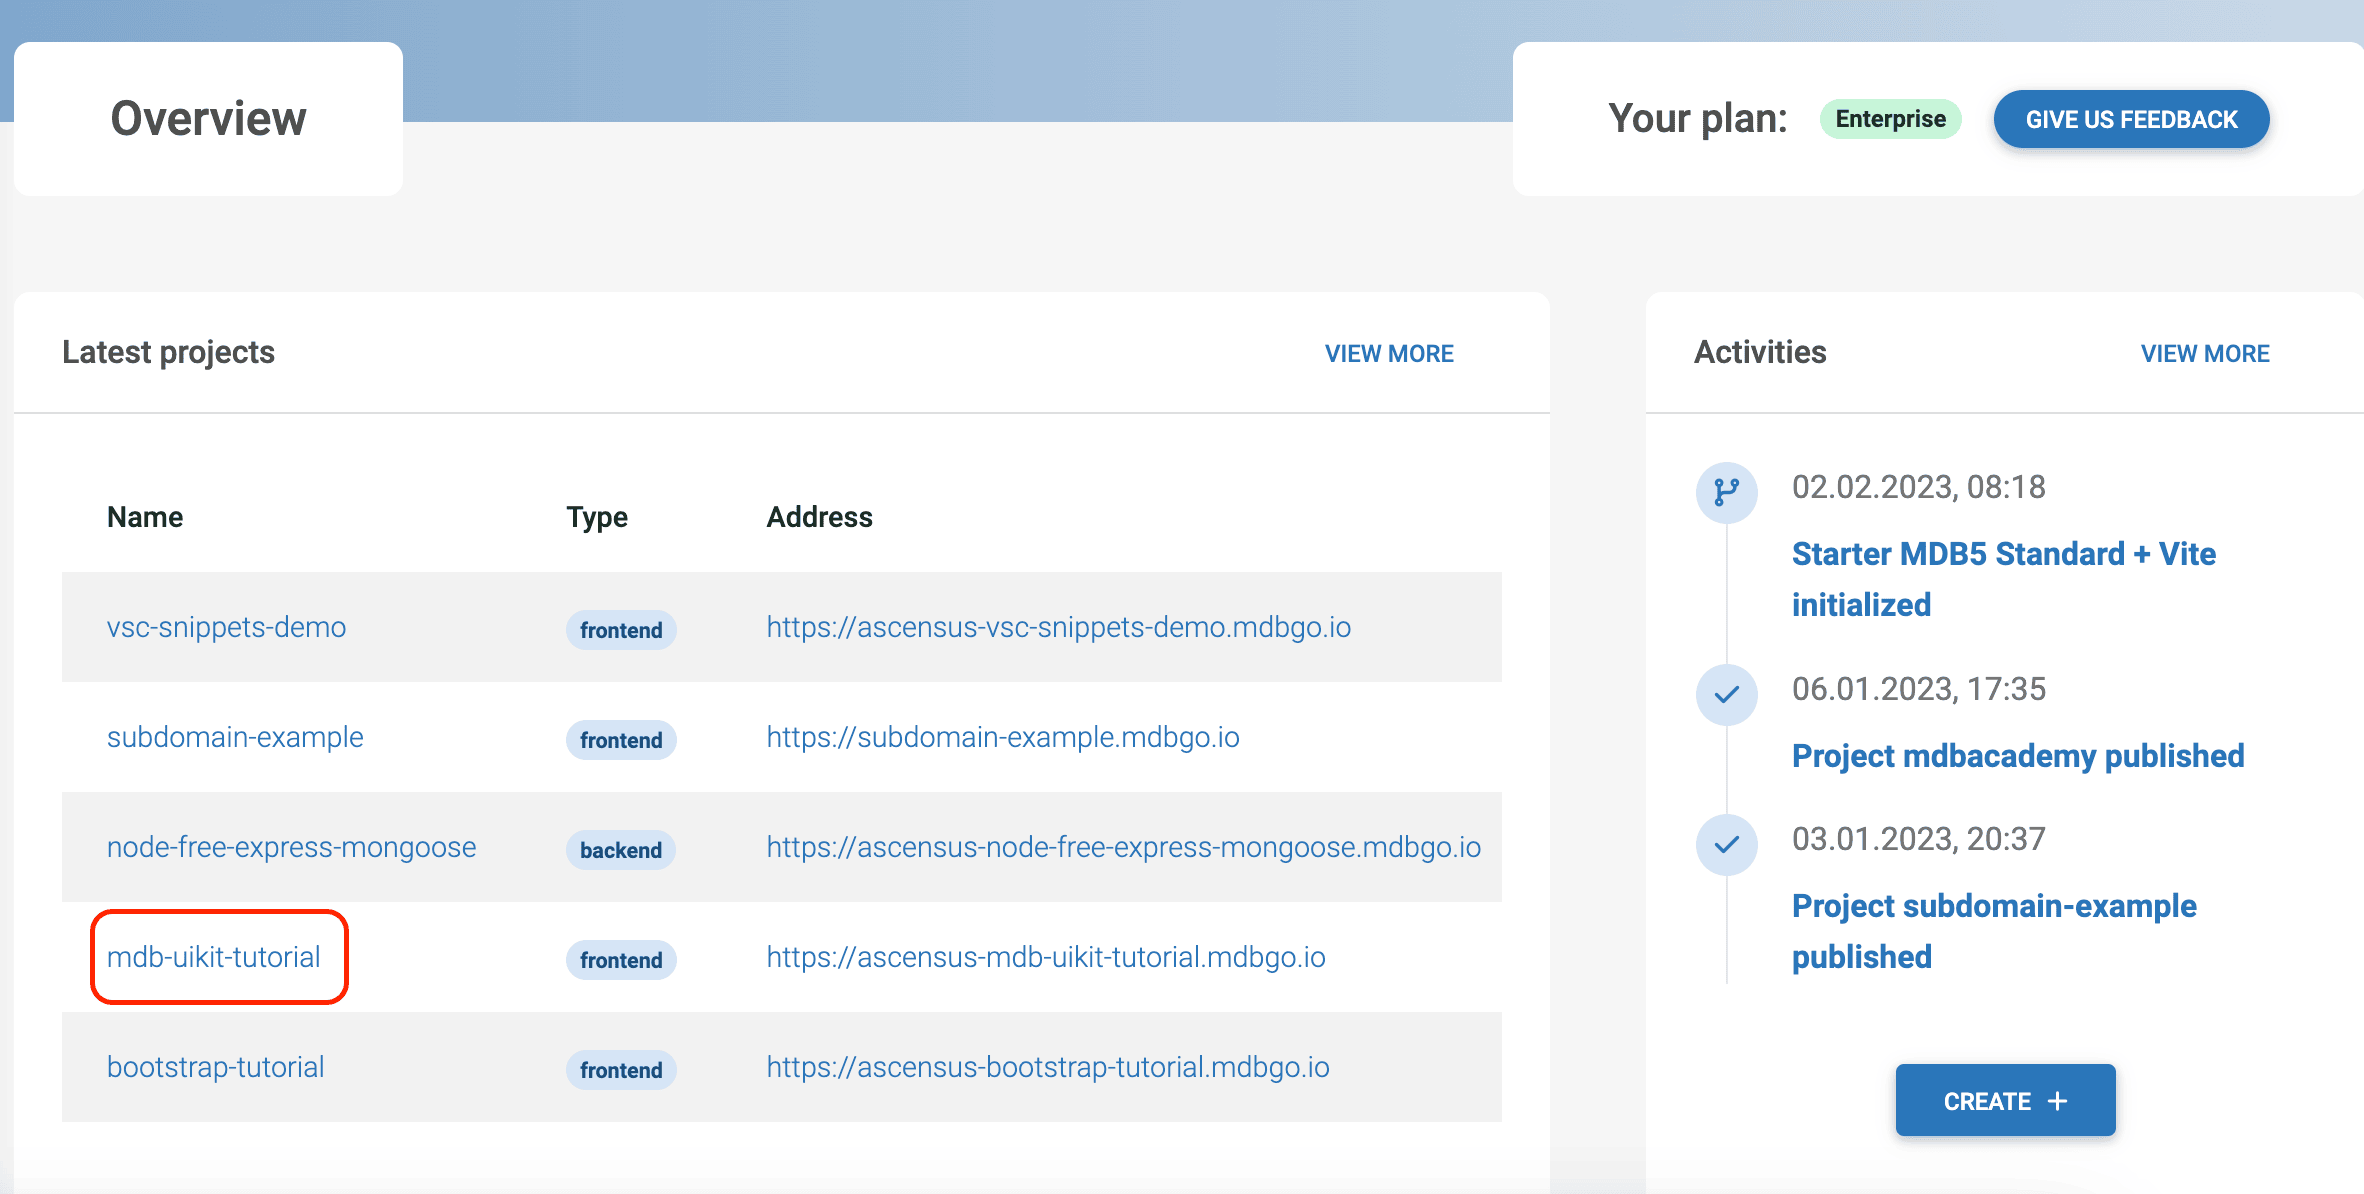
Here you can manage your project - grant access to it, rename it, manage the repository, set a custom domain and much more. You also have access to the analytics panel.
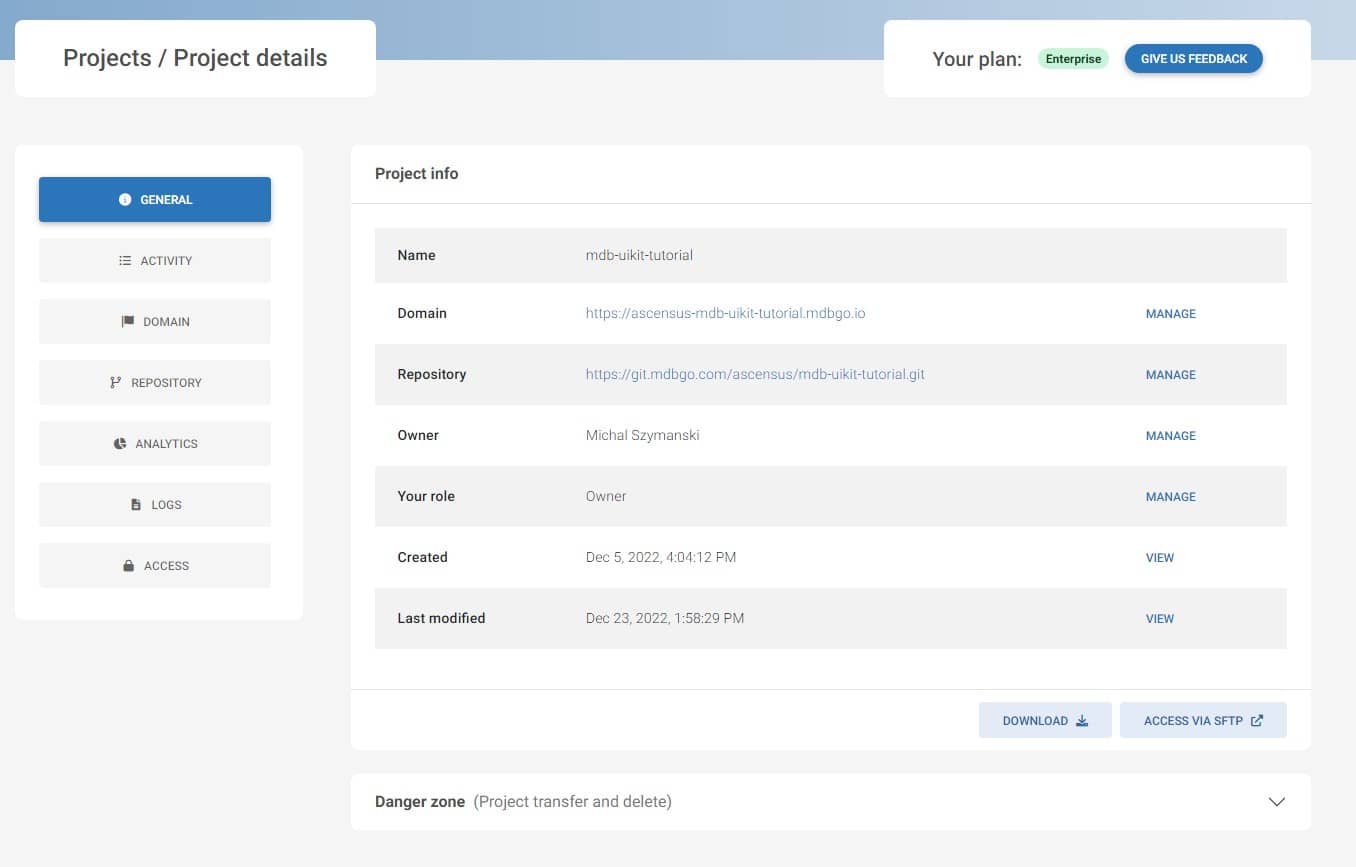
Most of them are self-explanatory, so feel free to experiment for yourself.
We will discuss in detail all the functionalities of the administration panel in the next tutorial devoted entirely to MDB GO.
Congratulations! You have completed the MDBootstrap tutorial 💪
You've done a great job, but keep going. More tutorials are waiting for you 🚀
If you have any questions or would like to show off your project, hit me up on twitter - I'd love to read about your impressions related to this tutorial 😉

About author
Michal Szymanski
Co Founder at MDBootstrap / Listed in Forbes „30 under 30" / Open-source enthusiast / Dancer, nerd & book lover.
Author of hundreds of articles on programming, business, marketing and productivity. In the past, an educator working with troubled youth in orphanages and correctional facilities.